Sebastian - V0.0.3 Devlog - Groovin' and Collidin'
This week, I was tasked with cleaning up and polishing the existing enemy types, amongst other tasks. As part of this task, I had to make sure that all the actions had some sound and animation to go with it. I would also be working on adjusting the colliders for the enemy's alert radius and damage radius, making them more reasonable in size. Two problems arose while I thought about how I wanted to go about completing these tasks, the first being that the enemies have different skeletal setups, and the second, the colliders were interacting with each other, creating a massive zone where both alerting teammates and receiving damage could occur. Both of these seem trivial, so let's go ahead and discuss how I went about tackling these problems and completing these tasks!
Let's start with fixing the colliders. As I mentioned, all the colliders on the enemy are interacting with each other, making them act as a giant hitbox. With this in mind, my first thought was to look at what the colliders are ignoring, blocking, and overlapping. It turns out they were able to block/overlap with way more than just the base pawn's collision. Since we only want the alert sphere and damage sphere to overlap with pawn colliders, I had to make it so both colliders only respond to the pawn collision channel.

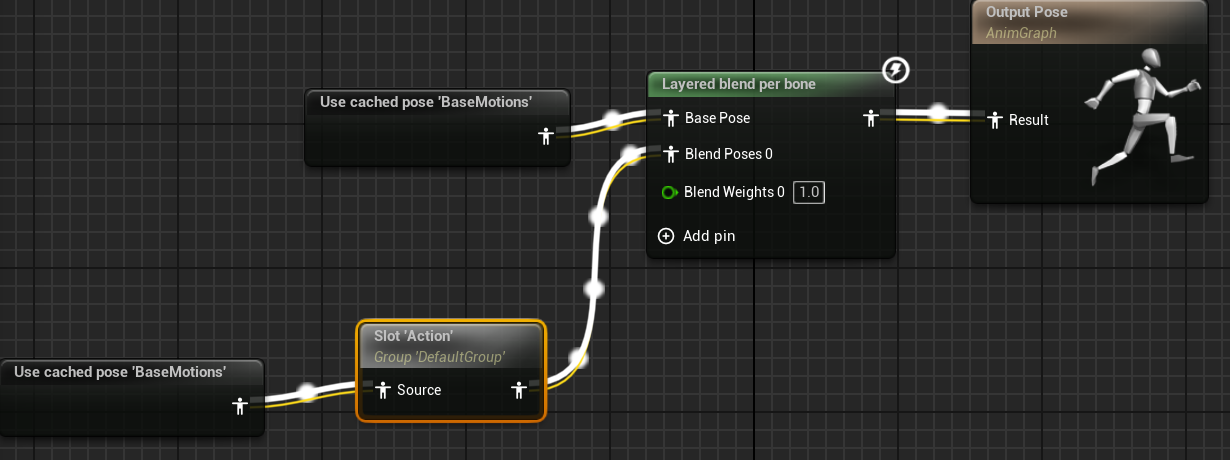
Thankfully, that is all that had to be done to fix both of the collider's overlap detection, now the enemy cannot be hit when the damage sphere overlaps with the alert sphere! With that out of the way, I began working on the animations. Since I already had a basic animation blueprint for both enemies, I was left with the task of adding in an animation slot for the actions and finding animations to be played using this slot. I began by adding a layer blend just before the animation is sent into the output pose, and attaching the base motion animations into the base pose value. With that, I can now create the Action animation slot and attach that to the first blend pose value.
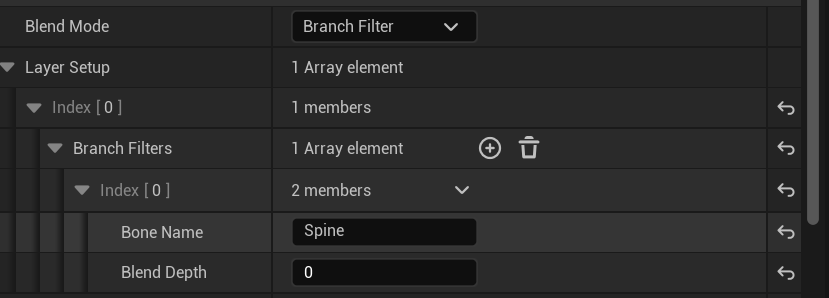
Now that that is all set up, I need to make sure the action slot only applies animations to the upper body portion of the enemy. To do this, I needed to go into the layer blend and setup a new branch filter, giving it the name of the root bone for the upper portion of the body. I needed to do this separately for each enemy, as they had different bone names.
The next step is to make variables to hold our animations, I did this part through code that way I could use it for both enemies.
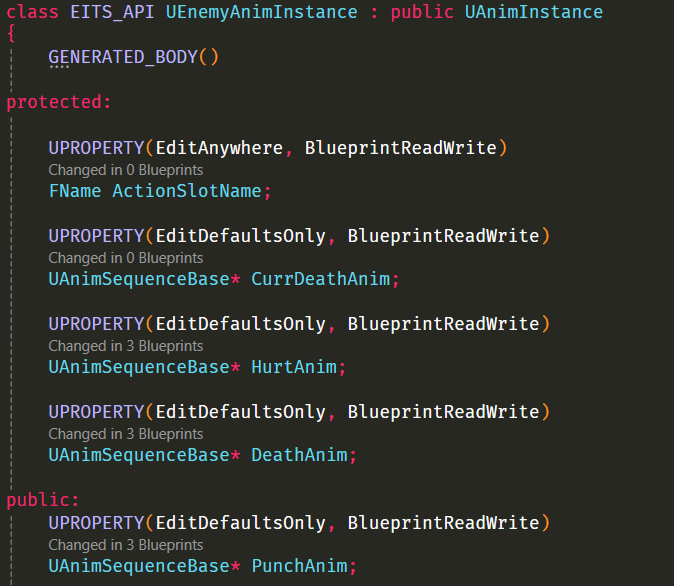
Now I will create functions that will play the animations using the action slot. These functions are fairly simple, as they only need to call one method to play animations.

Now that all of that has been done, the next step is to attach the animations to each animation blueprint, but before I did that, I needed to figure out how to get animations working with their different skeletons. After some research (and talking with groupmates about the matter), I learned that Unreal Engine has a feature where you can retarget animations to a different skeletal mesh!
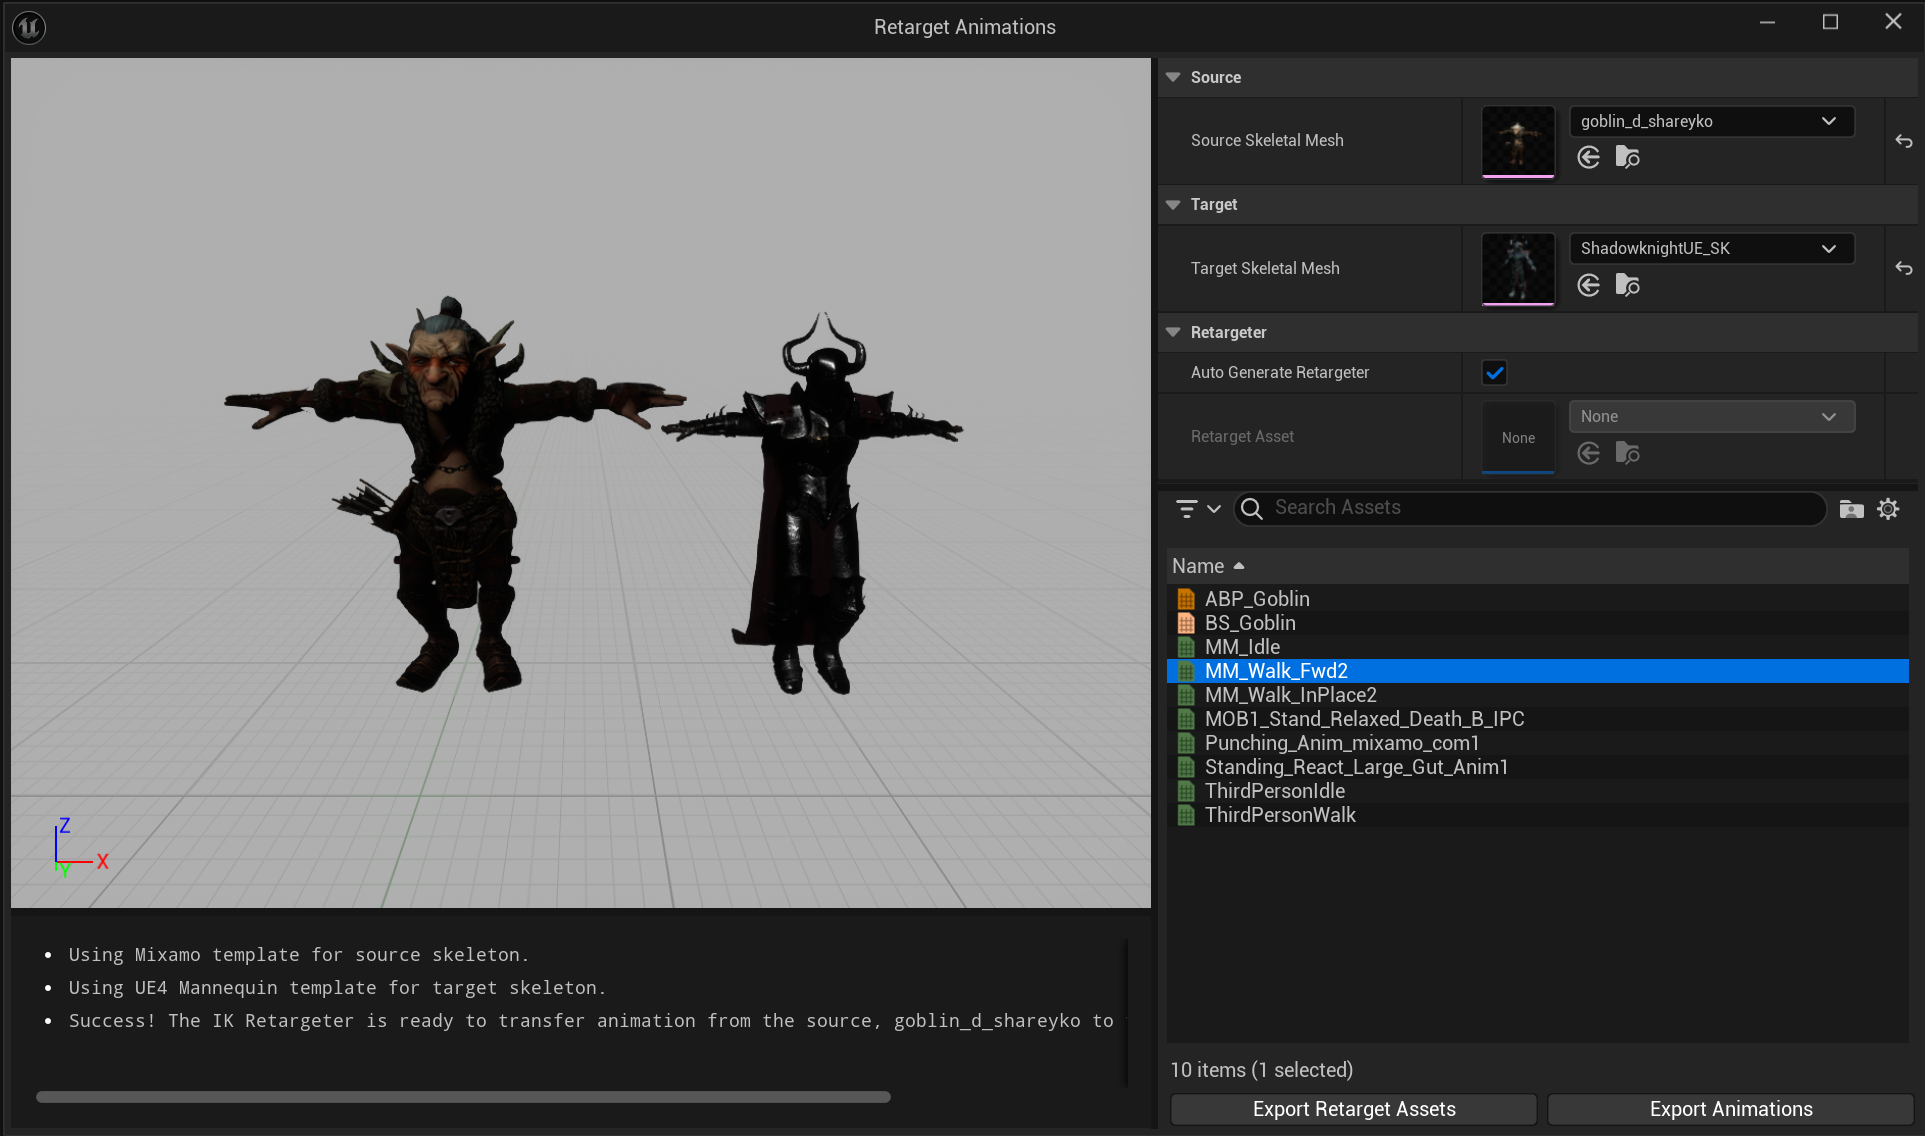
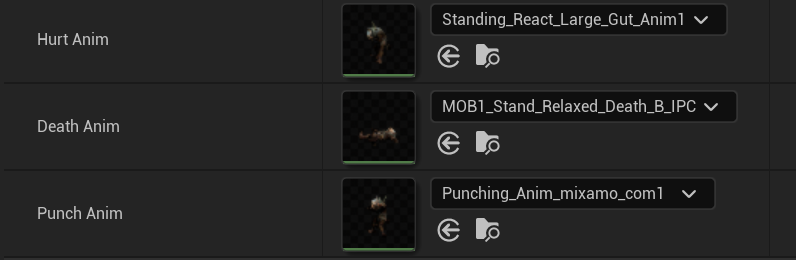
After retargeting all the animations I needed for both enemies, I was able to pass them into their animation blueprints.
Now that all of that has been done, here is the final product:
Leave a comment
Log in with itch.io to leave a comment.